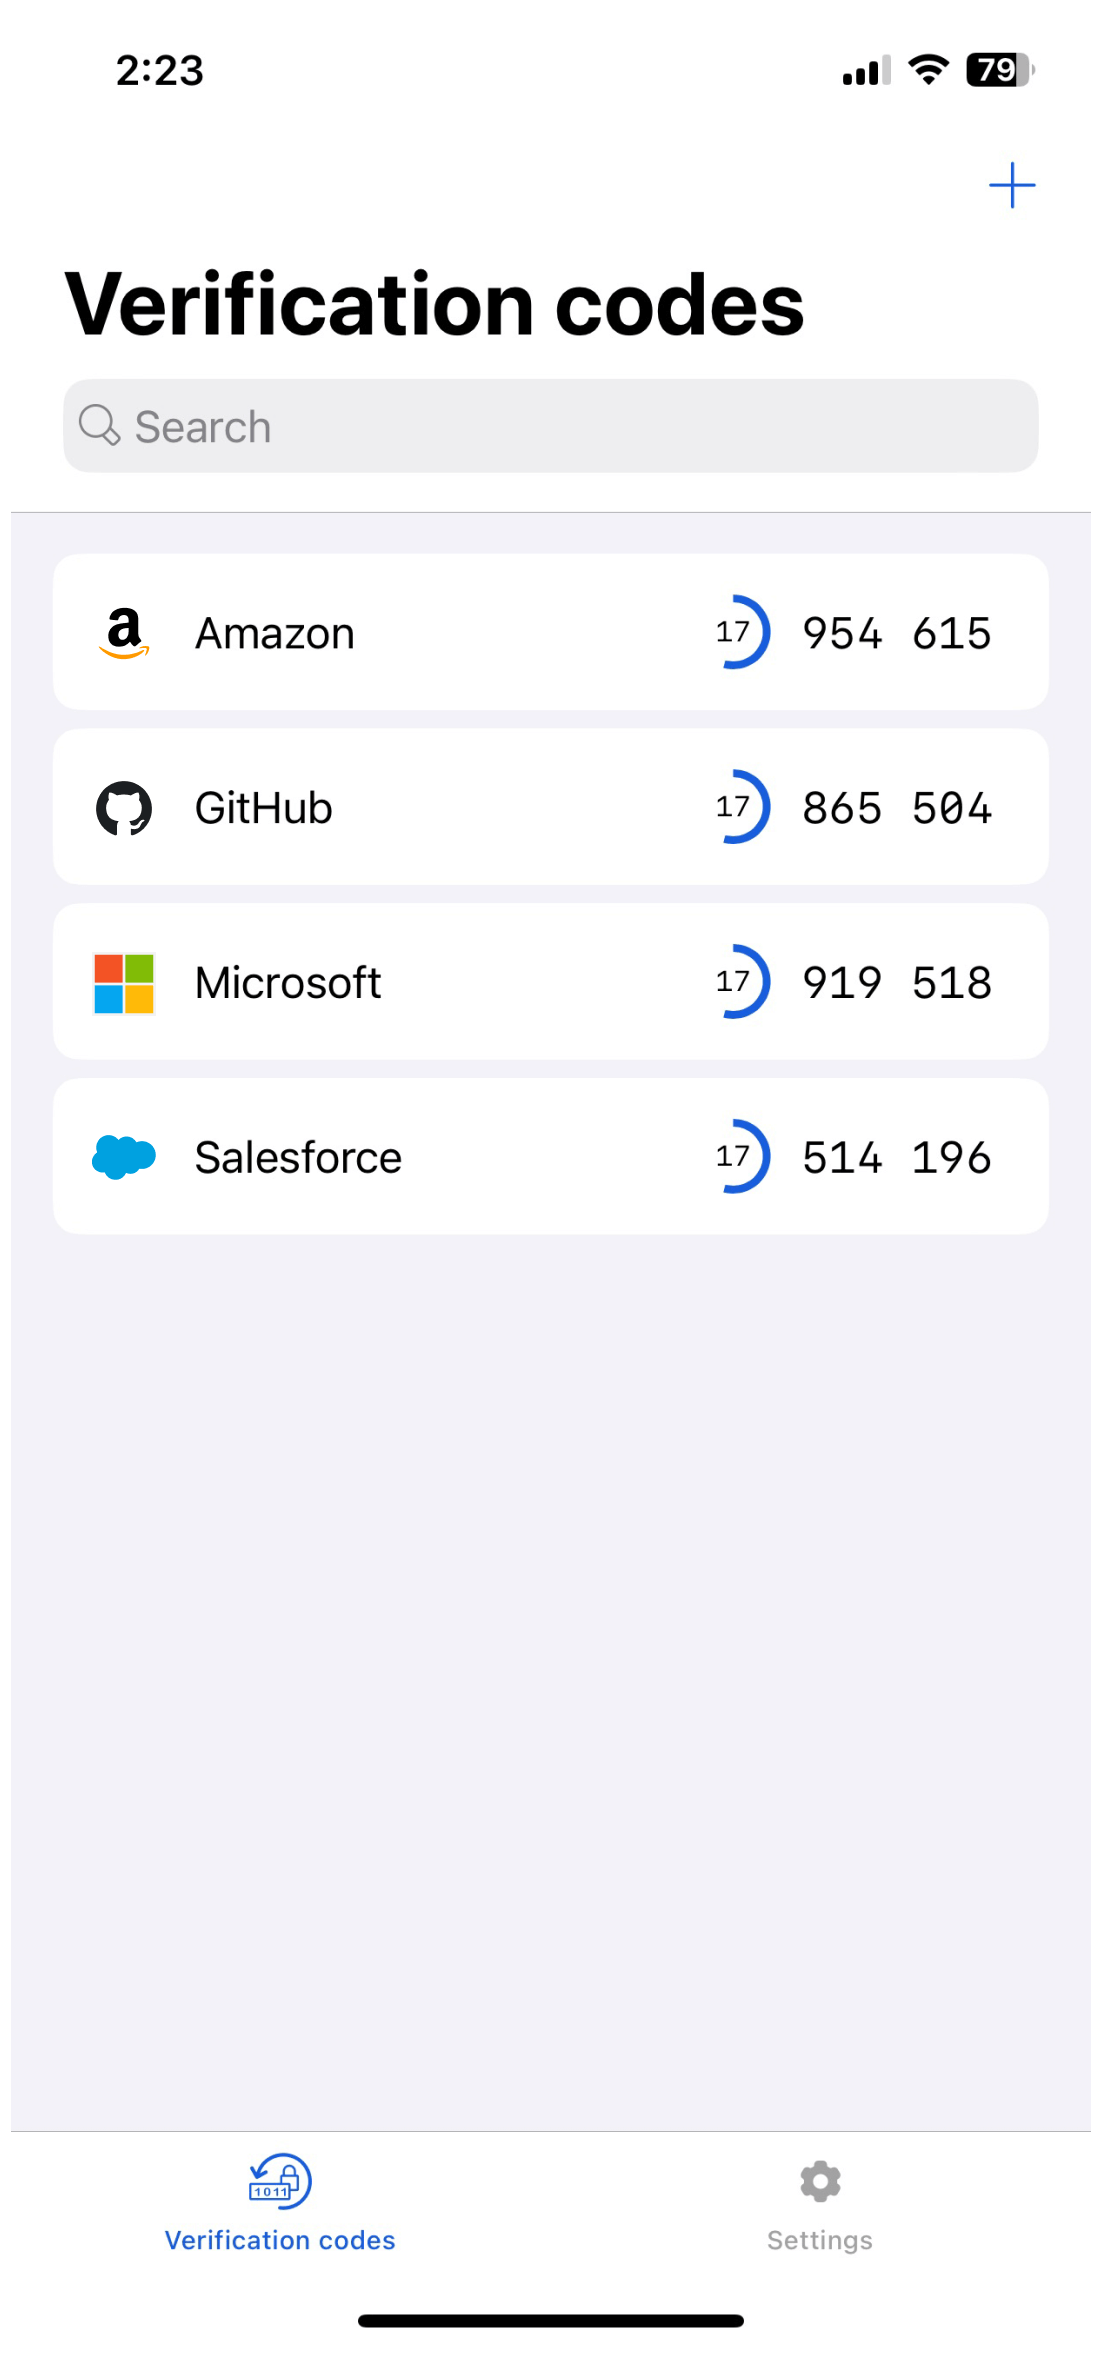
Bitwarden Authenticator allows you easily store and generate two-factor authentication codes on your device. The Bitwarden Authenticator iOS application is written in Swift.
- Minimum iOS: 15.0
- Target SDK: 15.0
- Device Types Supported: iPhone
- Screen Sizes Supported: iPhone SE to iPhone 14 Pro Max
- Orientations Supported: Portrait, Landscape
-
Clone the repository:
$ git clone https://github.com/bitwarden/authenticator-ios
-
Install Mint:
$ brew install mint
If you're using a Mac with Apple Silicon with Mint installed via Homebrew, you may see the SwiftGen build phase fail with the following error:
line 2: mint: command not foundIf so, or if you just prefer to install Mint without
brew, clone the Mint repo into a temporary directory and runmake.$ git clone https://github.com/yonaskolb/Mint.git $ cd Mint $ make -
Bootstrap the project:
$ Scripts/bootstrap.sh
Note Because
Scripts/bootstrap.shis how the project is generated,bootstrap.shwill need to be run every time the project configuration or file structure has changed (for example, when files have been added, removed or moved). It is typically best practice to runbootstrap.shany time you switch branches or pull down changes.Alternatively, you can create git hooks to automatically execute the
bootstrap.shscript every time a git hook occurs. To use the git hook scripts already defined in theScriptsdirectory, copy the scripts to the.git/hooksdirectory.$ cp Scripts/post-merge .git/hooks/ $ cp Scripts/post-checkout .git/hooks/
- Open the project in Xcode 15.2+.
- Run the app in the Simulator with the
Authenticatortarget.
-
In Xcode's toolbar, select the project and a connected device or simulator.
- The
Generic iOS Deviceused for builds will not work for testing.
- The
-
In Xcode's menu bar, select
Product > Test.- Test results appear in the Debug Area, which can be accessed from
View > Debug Area > Show Debug Areaif not already visible.
- Test results appear in the Debug Area, which can be accessed from
This project is linted using both SwiftLint and SwiftFormat. Both tools run in linting mode with every build of the Authenticator target. However, if you would like to have SwiftFormat autocorrect any issues that are discovered while linting, you can manually run the fix command mint run swiftformat ..
Additionally, if you would like SwiftFormat to autocorrect any issues before every commit, you can use a git hook script. To use the git hook script already defined in the Scripts directory, copy the script to the .git/hooks directory.
$ cp Scripts/pre-commit .git/hooks/This project's structure is split into separate sections to support sharing as much code between all of the targets as possible. All core functionality and the majority of UI elements can be found in the AuthenticatorShared framework.
GlobalTestHelpers is a directory that contains helper files used in all test targets. This directory is included in each target that is defined in the project.yml file.
Code contributions are welcome! Please commit any pull requests against the main branch. Learn more about how to contribute by reading the Contributing Guidelines. Check out the Contributing Documentation for how to get started with your first contribution.
Security audits and feedback are welcome. Please open an issue or email us privately if the report is sensitive in nature. You can read our security policy in the SECURITY.md file.
